Top Safari Photography Tips for Capturing Unforgettable Wildlife Moments + Gear Info
This post may contain affiliate links, which means I’ll receive a commission if you purchase through my links, at no extra cost to you. Please read full disclosure for more information.
Safari Photography can be a fun and rewarding experience, and having the right gear and knowing a few key tips can help ensure an outcome that you’ll be pleased with! As a professional photographer with more than 20 years of experience, I’m sharing my top safari photography tips along with what camera gear I used on my East Africa Tanzania safari photography trip.
Preparing for Your Safari Photography Adventure
Preparing for a safari photography adventure requires careful planning and attention to detail. To ensure a successful and enjoyable experience, it’s essential to plan your safari location, choose the right camera gear, and develop your photography skills.
Plan Your Safari Location
When planning your safari location, consider the time of year, weather conditions, and the type of wildlife you want to photograph. Research the best safari destinations in Africa, such as the Maasai Mara in Kenya or the Serengeti in Tanzania, and choose a location that offers a high concentration of wildlife and diverse landscapes. This will increase your chances of capturing a variety of stunning wildlife images.
Safari Photography Tip #1 – Choose the Right Camera Equipment
There’s an old saying that goes, “The best camera is the one you have with you.” While that’s generally true, there are some instances where having higher end camera gear will work to your advantage, and going on safari in Africa is one of those cases.
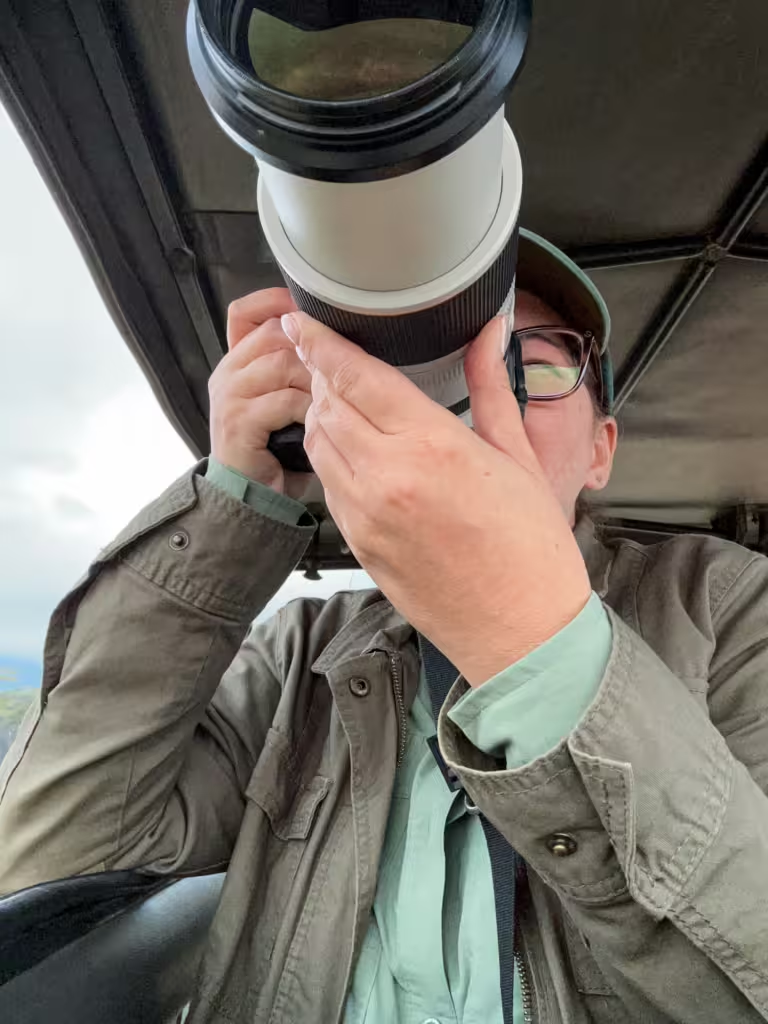
A full frame camera (DSLR or mirrorless camera) with a good zoom lens, such as a 200-600mm lens, is the ideal camera for safari photos. Having a wide-angle lens can also be helpful for capturing the breathtaking landscapes, but I found that my zoom lens rarely left my camera while I was on safari in Africa. Partly because changing lenses in the often dusty conditions is not ideal, but mostly because it allowed me to get better close ups while photographing animals. Additionally, selecting an appropriate minimum shutter speed, such as 1/4,000th of a second, is crucial for capturing sharp images of fast-moving wildlife.
While this type of camera and zoom lenses can be an expensive investment, there’s another option and that’s renting photography equipment. The Lens Depot is my go to place to rent photography equipment and I used them to rent gear for my African safari because the zoom lens I wanted to use while on photo safari was not something I’d use on a regular basis.
All of that being said, a DSLR or mirrorless camera is only going to be useful if you know how to use it. If you’re buying or renting, do so well in advance and practice, practice, practice!

Safari Photography Tip #2 – Use Shutter Priority and the Appropriate Shutter Speed
When photographing fast-moving wildlife, selecting an appropriate minimum shutter speed is crucial to ensure sharp images. For instance, a fast shutter speed, such as 1/4,000th of a second or higher, is often necessary to capture the dynamic actions of animals effectively while also minimizing camera shake. Adjusting the shutter speed based on focal length and shooting conditions can significantly improve your results. For example, using a faster shutter speed with a longer focal length helps to minimize motion blur. Using shutter priority mode allows you to focus on capturing the action without worrying about exposure settings and camera shake (and I say that as someone who typically shoots manual mode in every other instance). Shoot in burst mode with moving animals to get a selection of images to choose from.
But don’t be afraid to play with your shutter speed to create striking wildlife images! I was lucky enough to see the Great Migration and there were thousands of wildebeest streaming across the road in front of our safari vehicle. After capturing beautiful photos where the action was frozen with a fast shutter speed, I lowered my shutter speed significantly and captured the image you see above. In my creative opinion, the blur better tells the story of the migration. If you’re experimenting with slower shutter speeds, don’t forget to use a tripod or brace your camera on the roof of your safari vehicle to minimize camera shake. And don’t use burst mode here so that you can avoid camera shake with the slower shutter speed.

Safari Photography Tip #3 – Compose with the Rule of Thirds
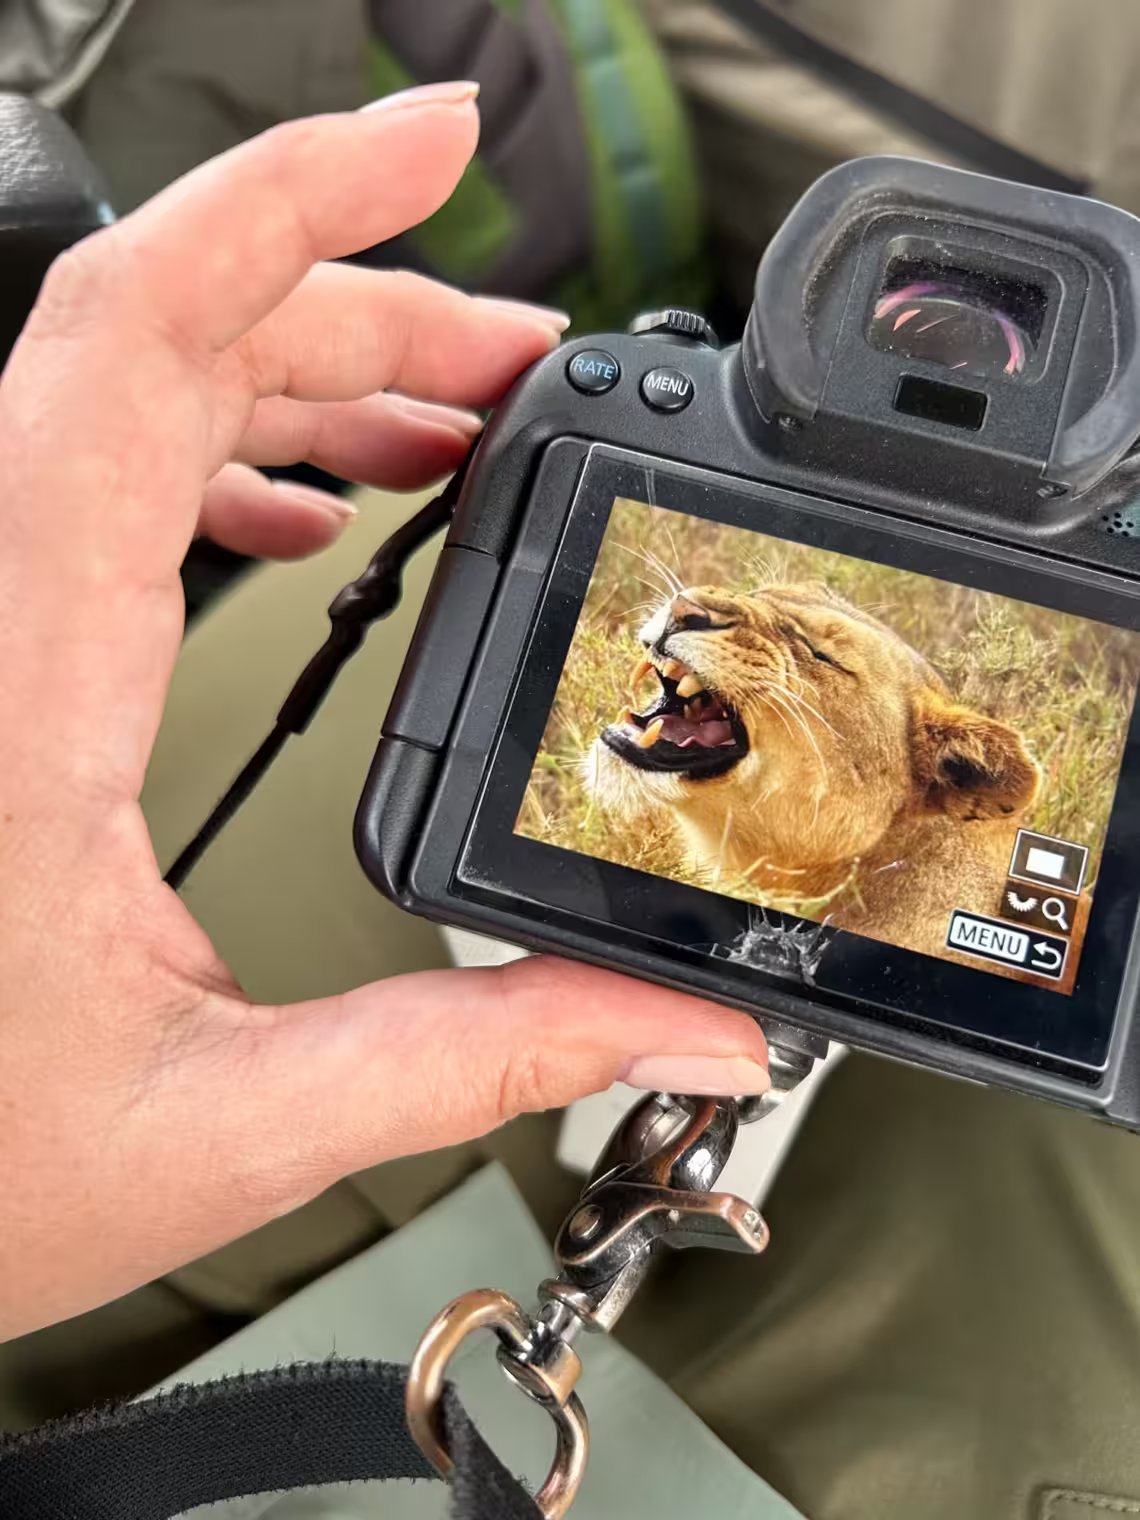
When taking photos, most people instinctively center the subject in the frame, however, this doesn’t always create the most pleasing composition. When you compose shots, consider using the rule of thirds. As illustrated by the red grid on the lioness photo above, the rule of thirds divides an image into thirds both vertically and horizontally. Placing the thing you want to draw the most attention to at the intersection of these lines creates more dynamic compositions.
That’s not to say that centered photos can’t be fun! With subjects that are symmetrical, I often center them in the composition. For example, if this lioness had been looking at me straight on, having her centered in the frame would have created great shots.

Safari Photography Tip #4 – Focus on the Eyes
People will tell you that the eyes are the window to the soul and if you’re capturing a portrait of an animal, you want to be sure to focus on the animal’s eyes. If you’ve got a striking image of a giraffe, but the focus is on the tree branch in front of the animal, it draws the viewer’s eye there and away from the giraffe.
Different camera models and brands have different ways to select the focus point of your image, so check the instruction manual for your camera and practice with this before your trip. One of my favorite safari photography tips is that if you have a pet at home, cats and dogs make great subjects to test your settings and practice on before taking safari photos.

Safari Photography Tip #5 – Always Be Ready
One of the most important safari photography tips I can give about wildlife photography is to always be ready! You never know when an animal is going to appear out of the brush or if the animal you’ve been watching is going to get up and pounce on its prey. If you’re always ready, the opportunities to create amazing wildlife photography on an African safari are endless!
Safari Photography Tip #6 – Be Extra
This is possibly one of the simplest safari photography tips I can give you: be extra! And that means packing plenty of essential accessories like extra camera batteries and lots of spare memory cards. Trust me, you’ll kick yourself if you miss an amazing photo because you’ve run out of memory card space or you don’t have extra batteries. It’s especially important in wildlife photography to keep an eye on how much memory card space is left on the current card you’re using so you don’t run out at a crucial moment. If you’re getting low on space, swap out the card before it’s full. The same goes for batteries—change these essential accessories before they die completely.
Safari Photography Tip #7 – Look for the Light
Photographers call the hour after sunrise and the hour before sunset golden hour due to the warm, golden light. And since light can make or break a photo, golden hour is a popular time to take photos anywhere, but especially on an African safari. Typically game drives happen twice a day and you’ll find yourself getting up in the early morning hours for a morning game drive, enjoying a break for lunch, and then going on a sunset game drive. Wildlife photography can be done at any time of day, but I think you’ll find that photos taken in the early morning or the evening during these golden hours are among some of your favorites!

Safari Photography Tip #8 – Tell the Story
Animal portraits are amazing and are one of the most appealing things about wildlife photography on an African safari. But it can be easy to get tunnel vision and just photograph animal portraits. To keep myself from getting stuck in this rut I focus on a little storytelling technique called OPD. OPD stands for overview, portrait, and detail.
When I’m photographing wildlife and I first come upon an animal, I take the wildlife images that my brain instinctively wants to create. Then I take a step back mentally (and sometimes physically if space allows) and remind myself OPD. Maybe I’ve already created a great portrait of the animal (portrait), but what about the larger scene that they’re part of (overview)? And is there a fun detail that I can take a close up shot of that adds to the story? This is one of those photography skills that can apply to anything you’re photographing.
Another one of my favorite photography tips is to look behind you! It’s easy to focus on creating wildlife images of the animal that’s right in front of you. But what’s behind you? Maybe there’s something equally or even more interesting that can make for great photos, but if you don’t turn around and look, you’ll never know!
Another thing to consider when doing wildlife photography is not to shy away from things like the hunt and the kill and the mating rituals when you photograph wildlife. These things might not always be the prettiest or the most comfortable to photograph, but they do tell the larger story of the African Bush.
Safari Photography Tip #9 – Shoot A Lot
This is another one of those super easy safari photography tips and that is: you miss 100% of the shots you don’t take. With camera memory cards being relatively cheap, shooting a ton of images on your photo safari means that you can choose the best photos from this once-in-a-lifetime trip and ditch the ones that didn’t turn out the way you’d hoped.
Whether you’re capturing a colorful bird in flight or an elephant ambling through their natural environment, using burst mode allows you to capture a series of photos in rapid succession while keeping all the settings the same.

Safari Photography Tip #10 – Splurge on a Solo Tour for Your Group
Safari vehicles typically seat seven guests plus the driver. Each guest has their own window and the roof pops up, allowing you to stand and see the wildlife around you during your photo safari. However, if you’re on the right side and all the action is happening on the left side, it can be a bit overwhelming, frustrating, and hard to capture the best shots, especially from a moving vehicle.
For that reason, I strongly suggest booking a private tour for you and your group. This way it’s only the people you’re traveling with, making it easier to capture the good photos you crave. Additionally, a solo tour allows your guide to focus on your group’s specific photography needs and provide personalized attention. This can make a significant difference in the quality of your safari photography experience, as you’ll have more opportunities to capture those perfect shots without any distractions.
If you choose to take a tour in a shared vehicle, it’s important to have realistic expectations about what you may or may not be able to see and point your camera at.

Safari Photography Tip #11 – Practice Patience
Observe the behavior of the animals and anticipate their movements. Be patient and shoot a lot. You’ll be spending time parked and waiting while you observe the animals, especially during the golden hours. Take a breath and enjoy it. Keep your camera in hand and wait and see what they do. Consider different angles you can shoot. Think about changing lenses to create a new composition.
Safari Photography Tip #12 – Respect Your Guide and the Animals and the People
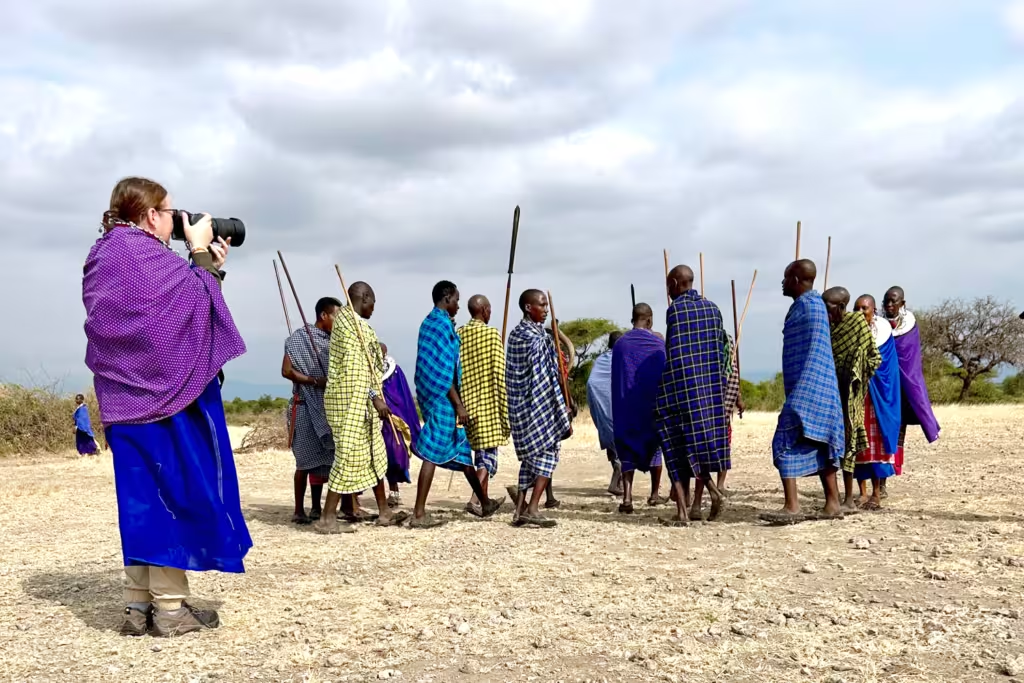
Your safety and the safety of the animal is your guide’s top priority. Listen to the directions as they are familiar with the unpredictable nature of the wild animals and can not only guide you on how to safely interact with them, but how to get great photos. Harassing the animals or disturbing their natural habitat is frowned upon and disrespectful, so don’t do it! The same goes for local people. Show them respect and ask if you can take photos rather than just sticking your camera in someone’s face. A little courtesy and respect go a long way!
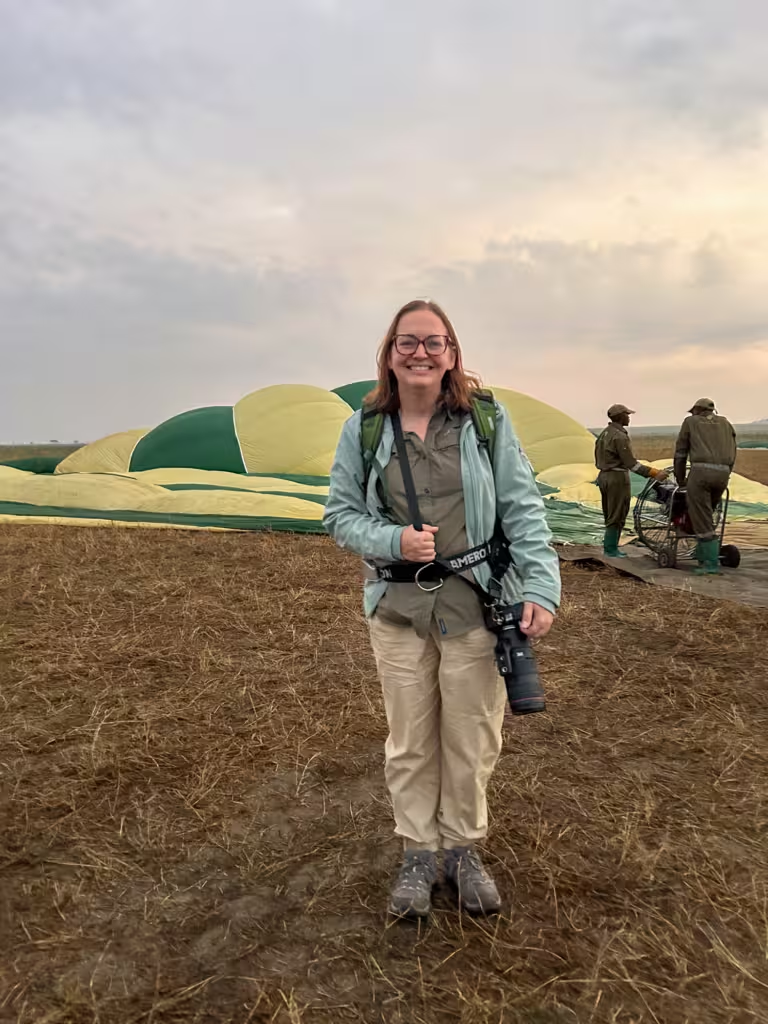
Camera Equipment I Took on My Tanzania Safari
Packing for a safari can be a challenging experience and that’s before you consider camera equipment! Many safari operators require soft-sided luggage for easy packing in the safari vehicle and many of the airlines in Africa have pretty strict weight limitations for both checked and carry on luggage. I found all of this hugely stressful during my planning and packing process and even ended up leaving my laptop at home due to weight concerns and that is so not like me! Spoiler alert: even without the laptop, my camera bag was overweight!
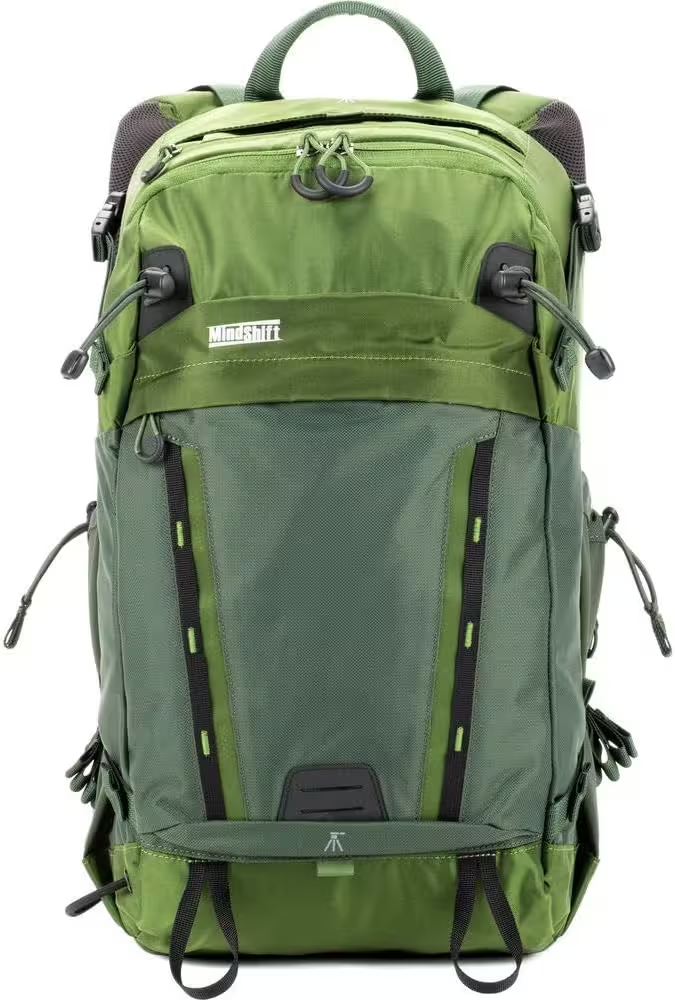
Think Tank Photo Backlight 18 L
For being small and relatively lightweight, this bag holds a ton of gear! So much gear that it was overweight and I had to pay excess baggage fees for a carry on, which is just wild to me! Oh well, no regrets!
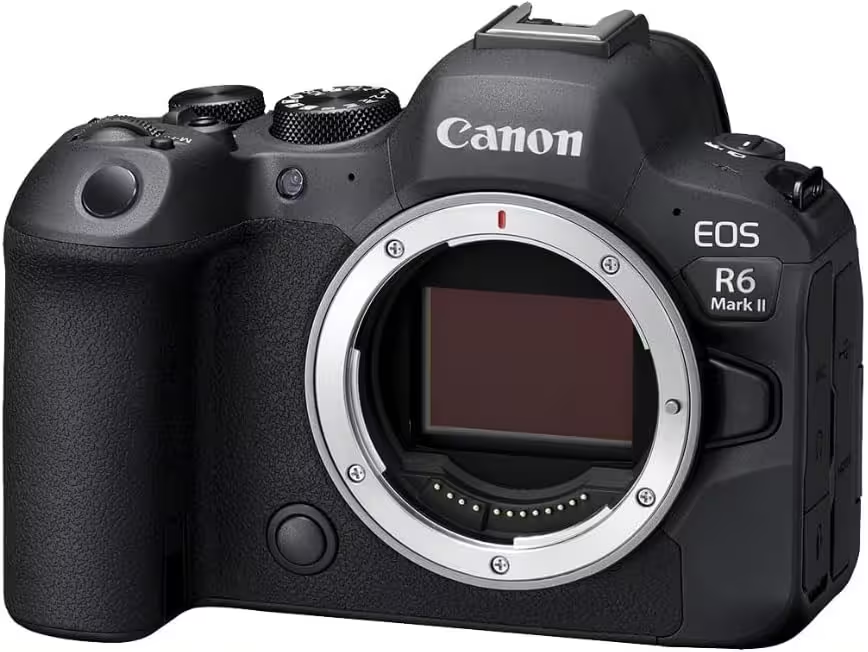
Canon EOS R6 Mark II Mirrorless Camera
The Canon R6 has been my go to camera body for the past three-ish years, so of course it came on safari with me! It’s great at grabbing focus and the RAW files are big enough without taking up a ridiculous amount of hard drive space.
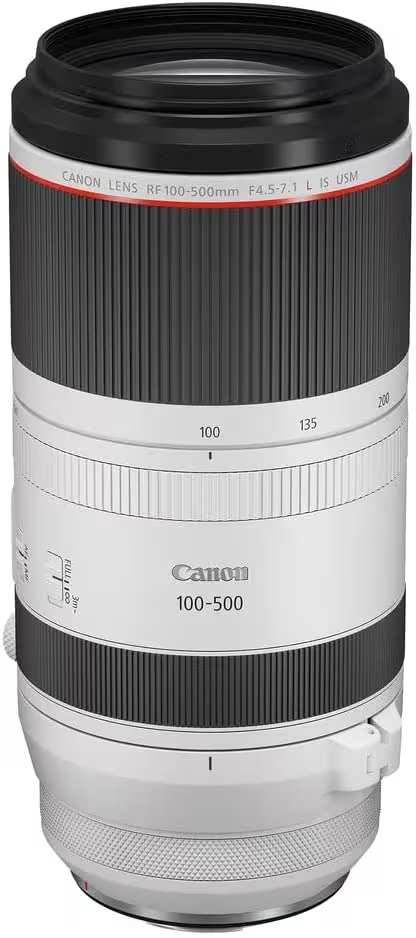
Canon RF 100-500mm f/4.5-7.1L is USM Lens
Since this is not a lens I would use on a regular basis, I rented it from my favorite rental house for the trip. It’s a heavy lens (honestly probably what put my bag overweight) but it focuses quickly and is quite sharp!
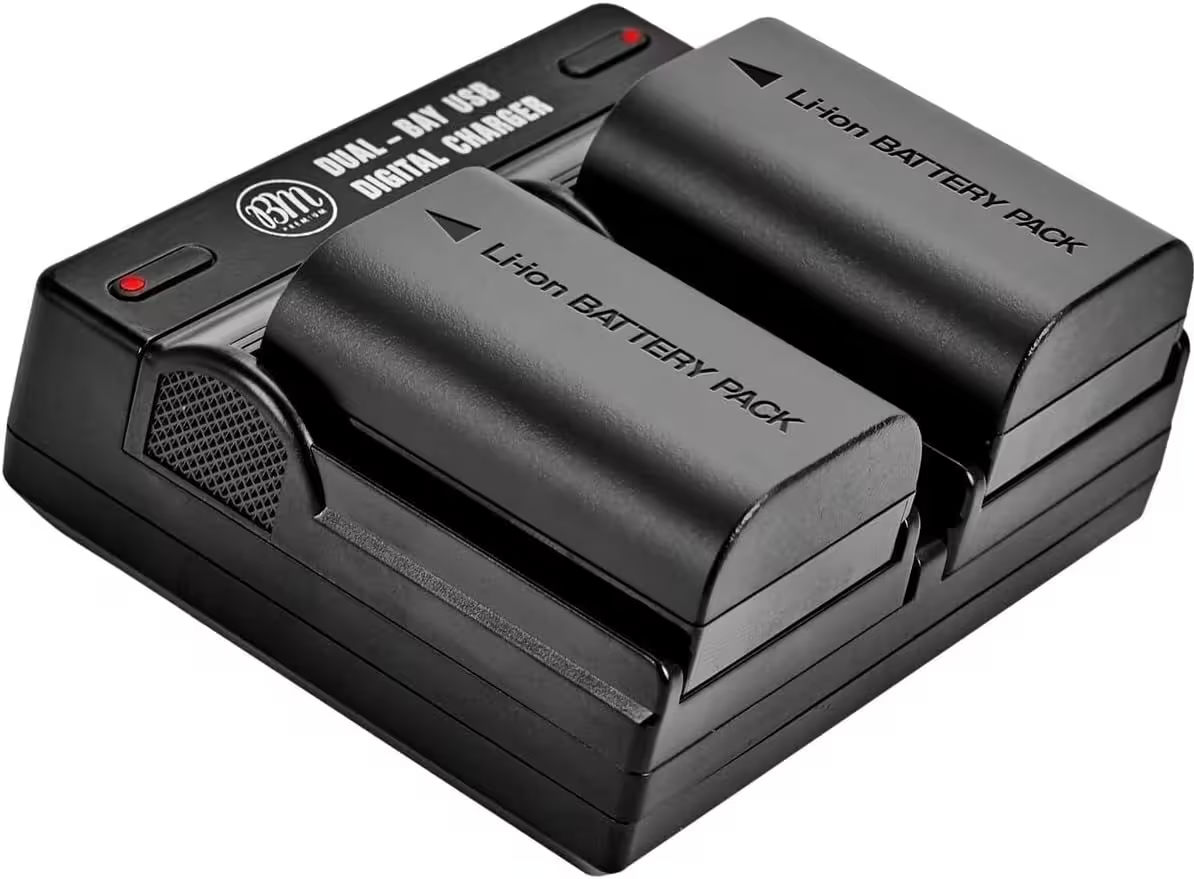
2-Pack of LP-E6N Batteries and Dual Battery Charger for Canon EOS R
You can never have too many camera batteries. And of course you need to charge them! I love being able to charge two at once with this charger.
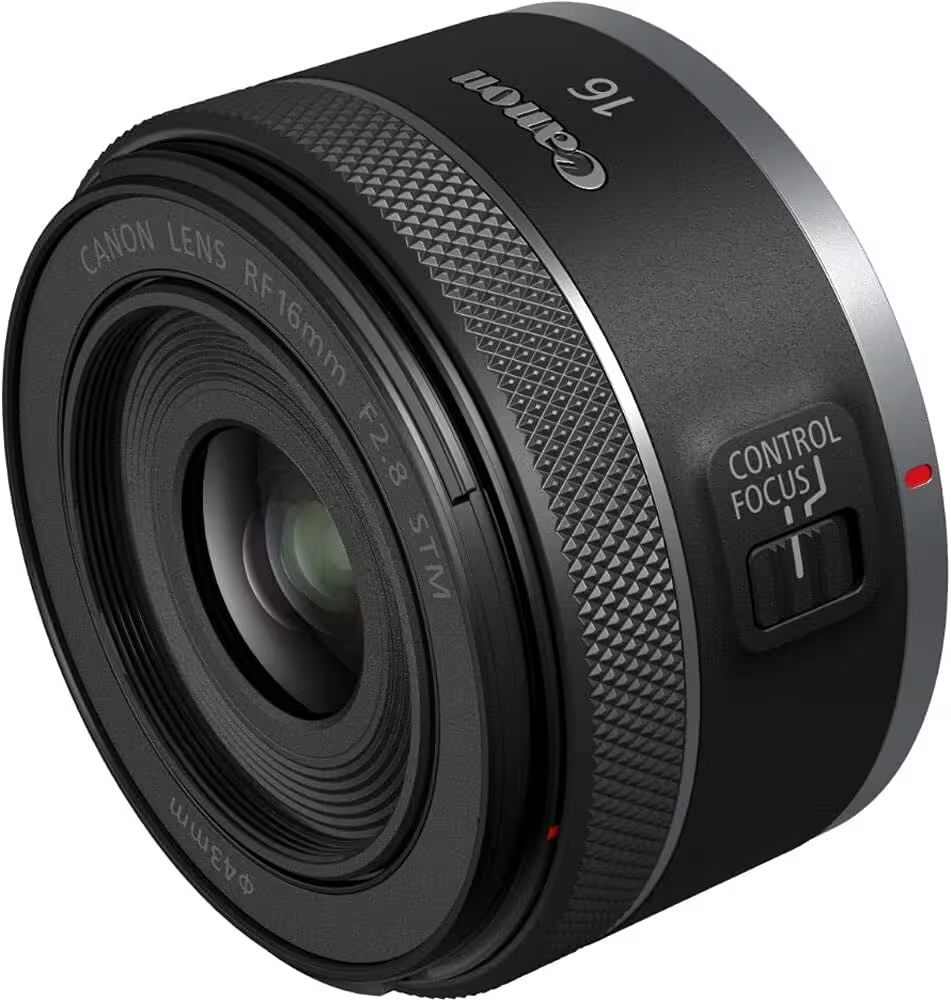
Canon RF 16mm f/2.8 STM Lens
I packed this but didn’t take it out of my bag once. Maybe if I had done a walking safari I would have used it, but for photographing from a vehicle, I just didn’t find it practical.
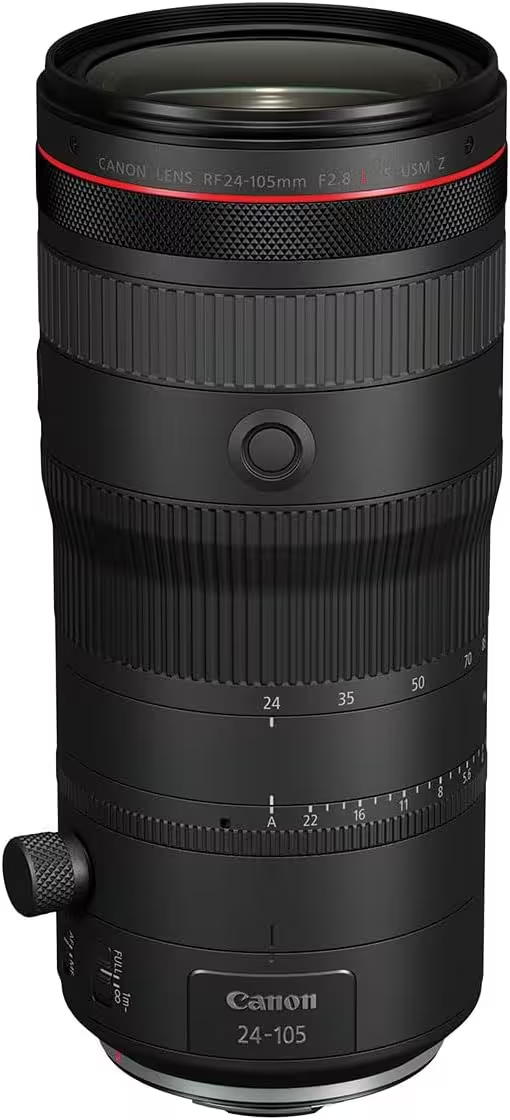
Canon RF24-105mm F2.8 L Lens
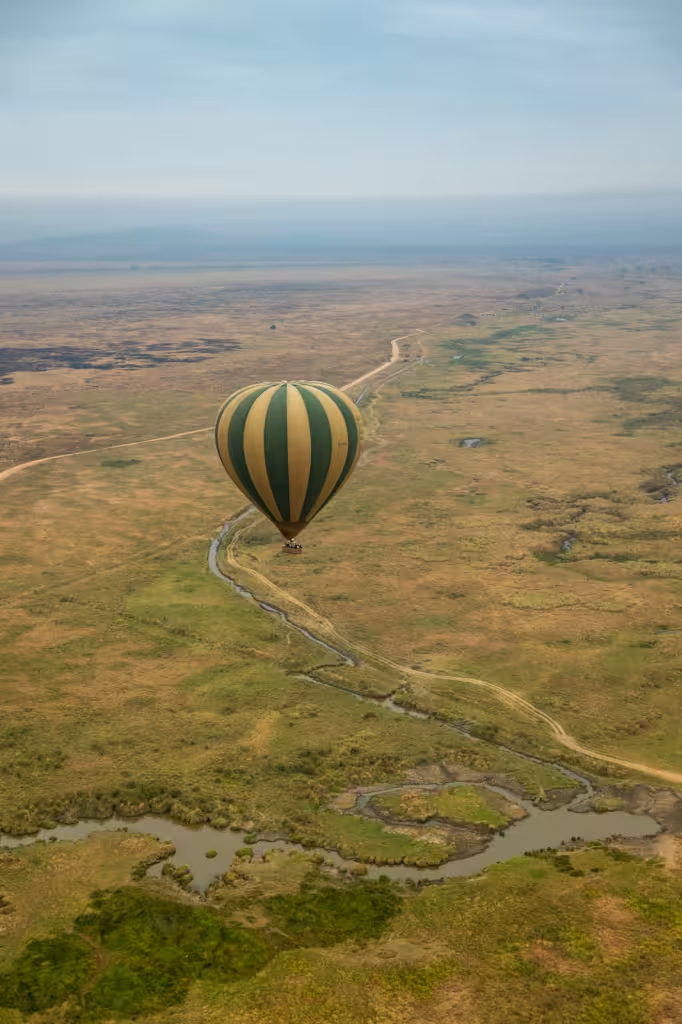
I love this lens so much. However, I found it had limited use on this trip. I much preferred the longer reach of the 100-500. I used the only twice. Once for photographing the Masai people and once in the hot air balloon.
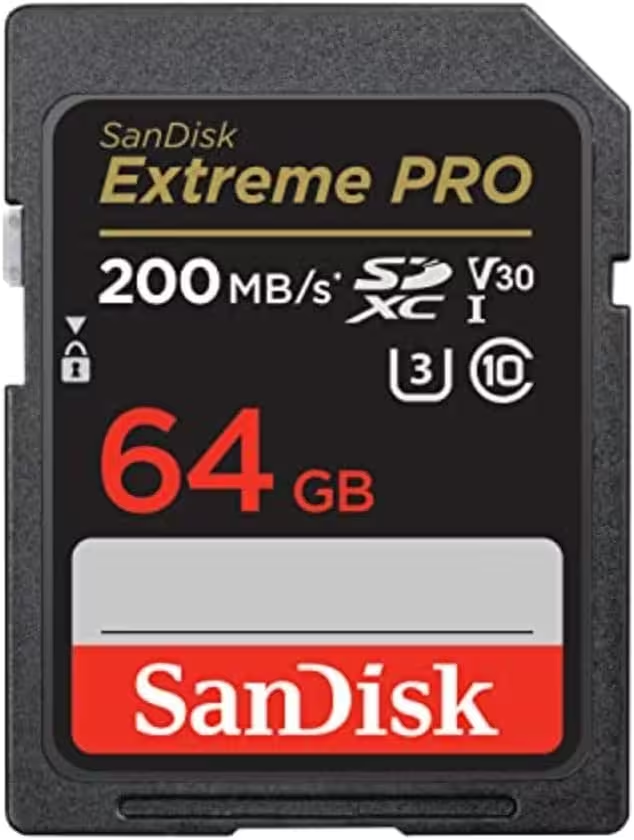
SanDisk 64GB Extreme PRO Memory Card
Memory is cheap. It goes on sale reguarly (check Prime Day and Black Friday sales). You can never have too much memory. If you’re shooting with a dual slot camera, make sure you have the same size memory cards in both slots and that your camera is writing to both cards.
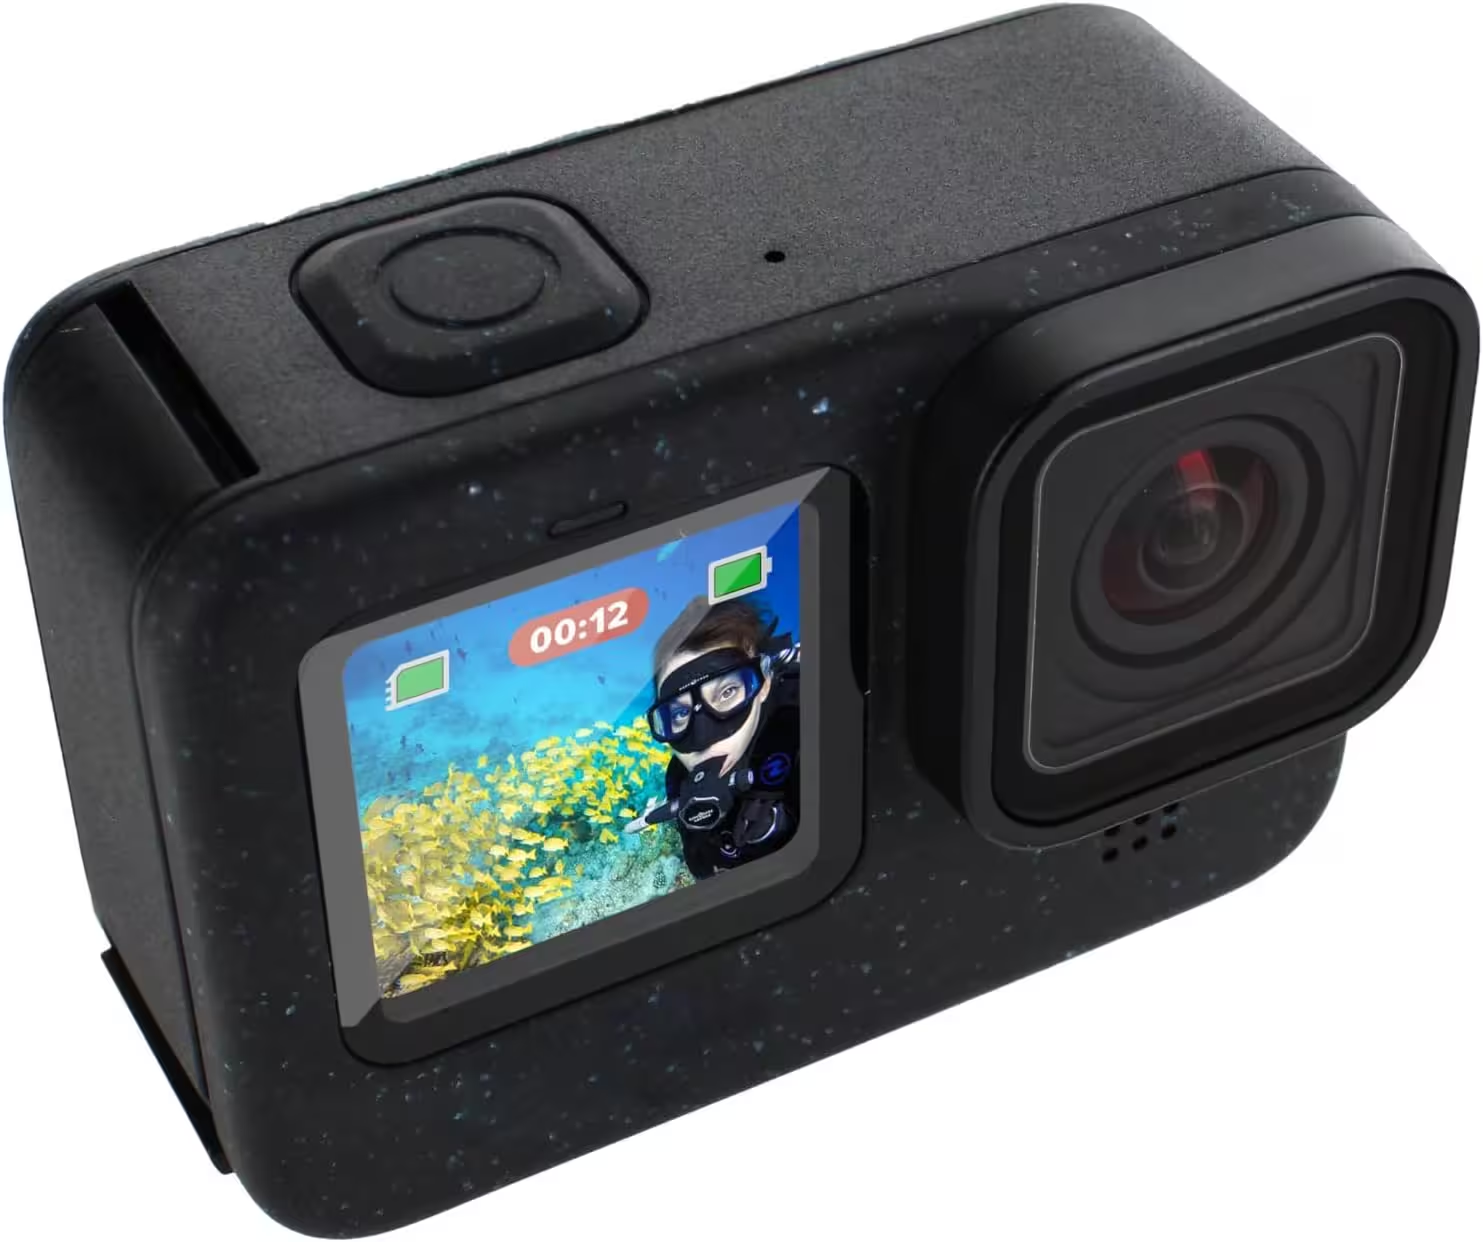
GoPro HERO12
You might be thinking why would anyone need a GoPro on safair? I brought this along for my snorkel trip in Zanzibar and absolutely love the underwater video I got with it. It was definitely a unitasker for this trip, but so worth it! If you’re skipping Zanzibar, you could save the weight in your bag.
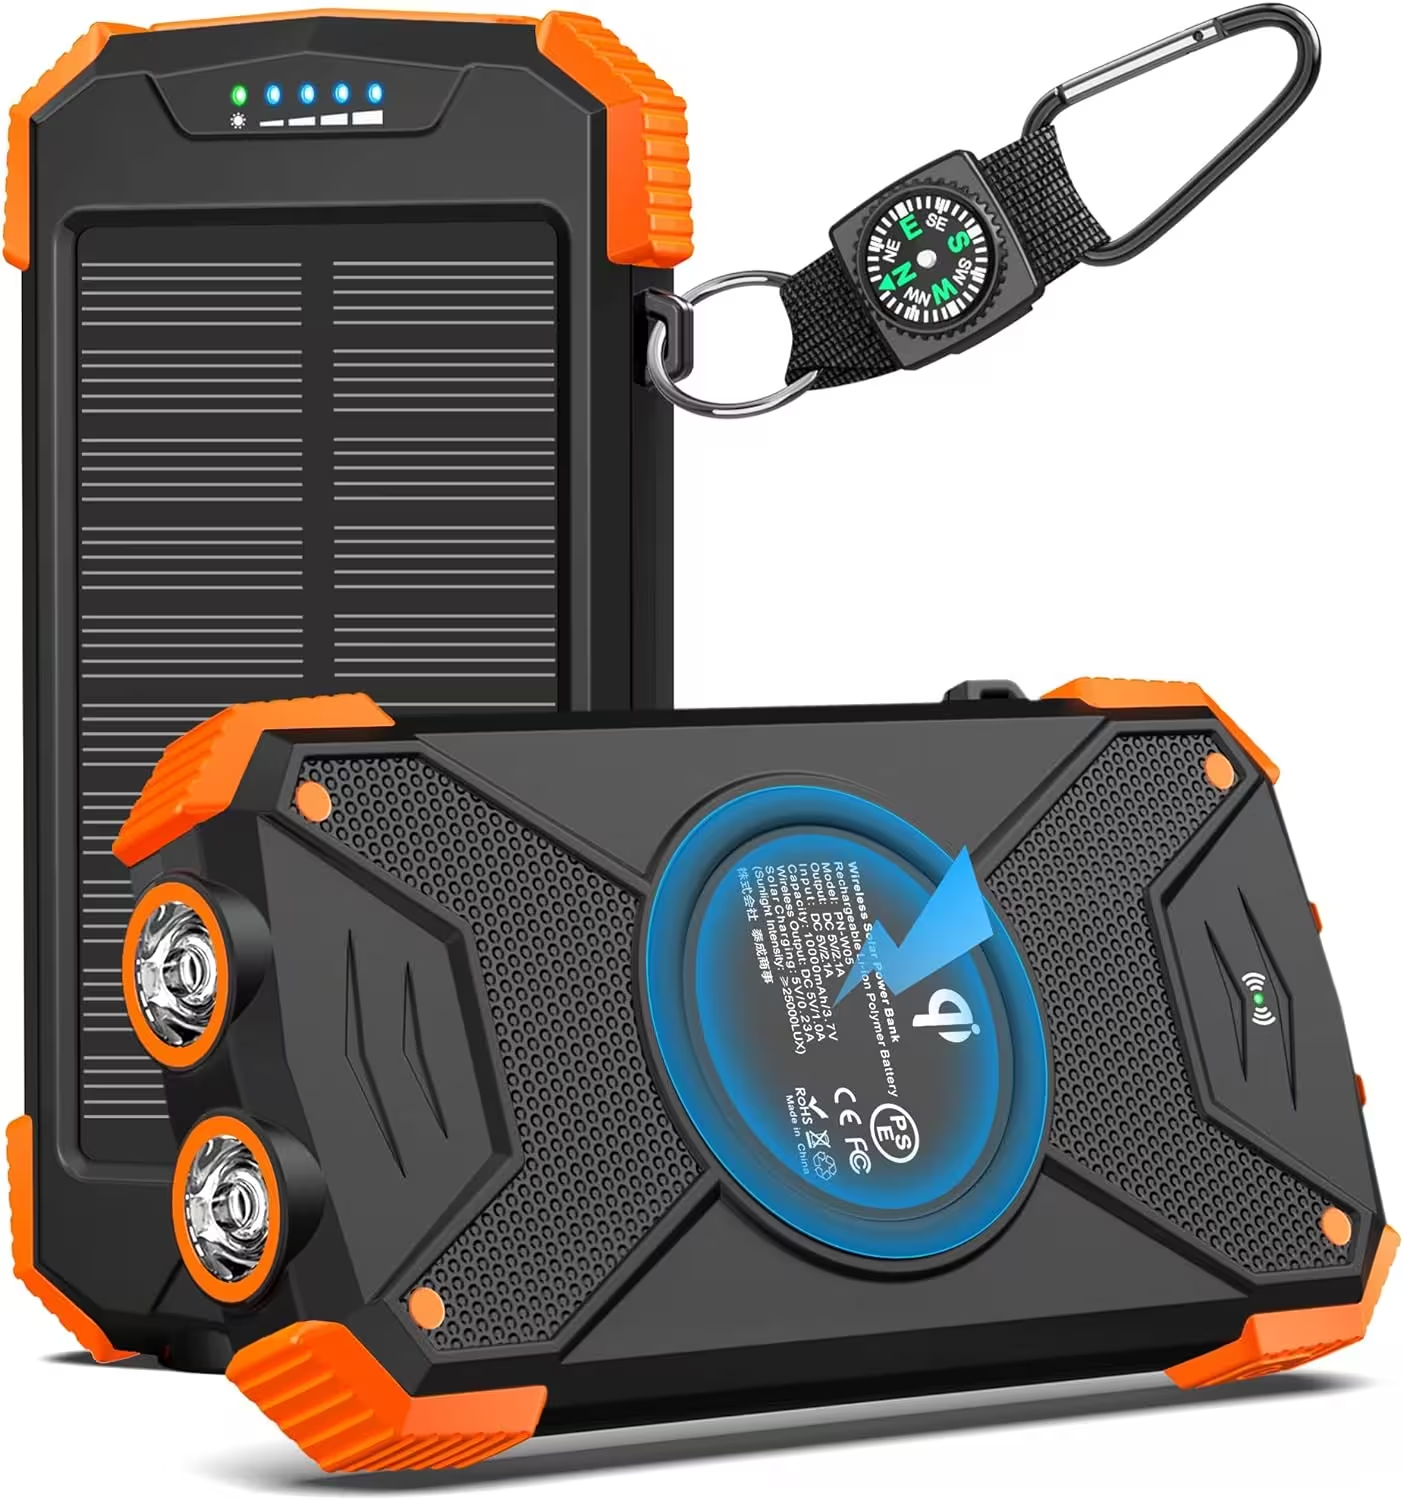
BLAVOR Solar Power Bank Portable
Some camps and hotels in the Serengeti have limited hours that you can use electricity. If you’re trying to charge camera gear that can be frustrating and challenging, so this comes in handy!
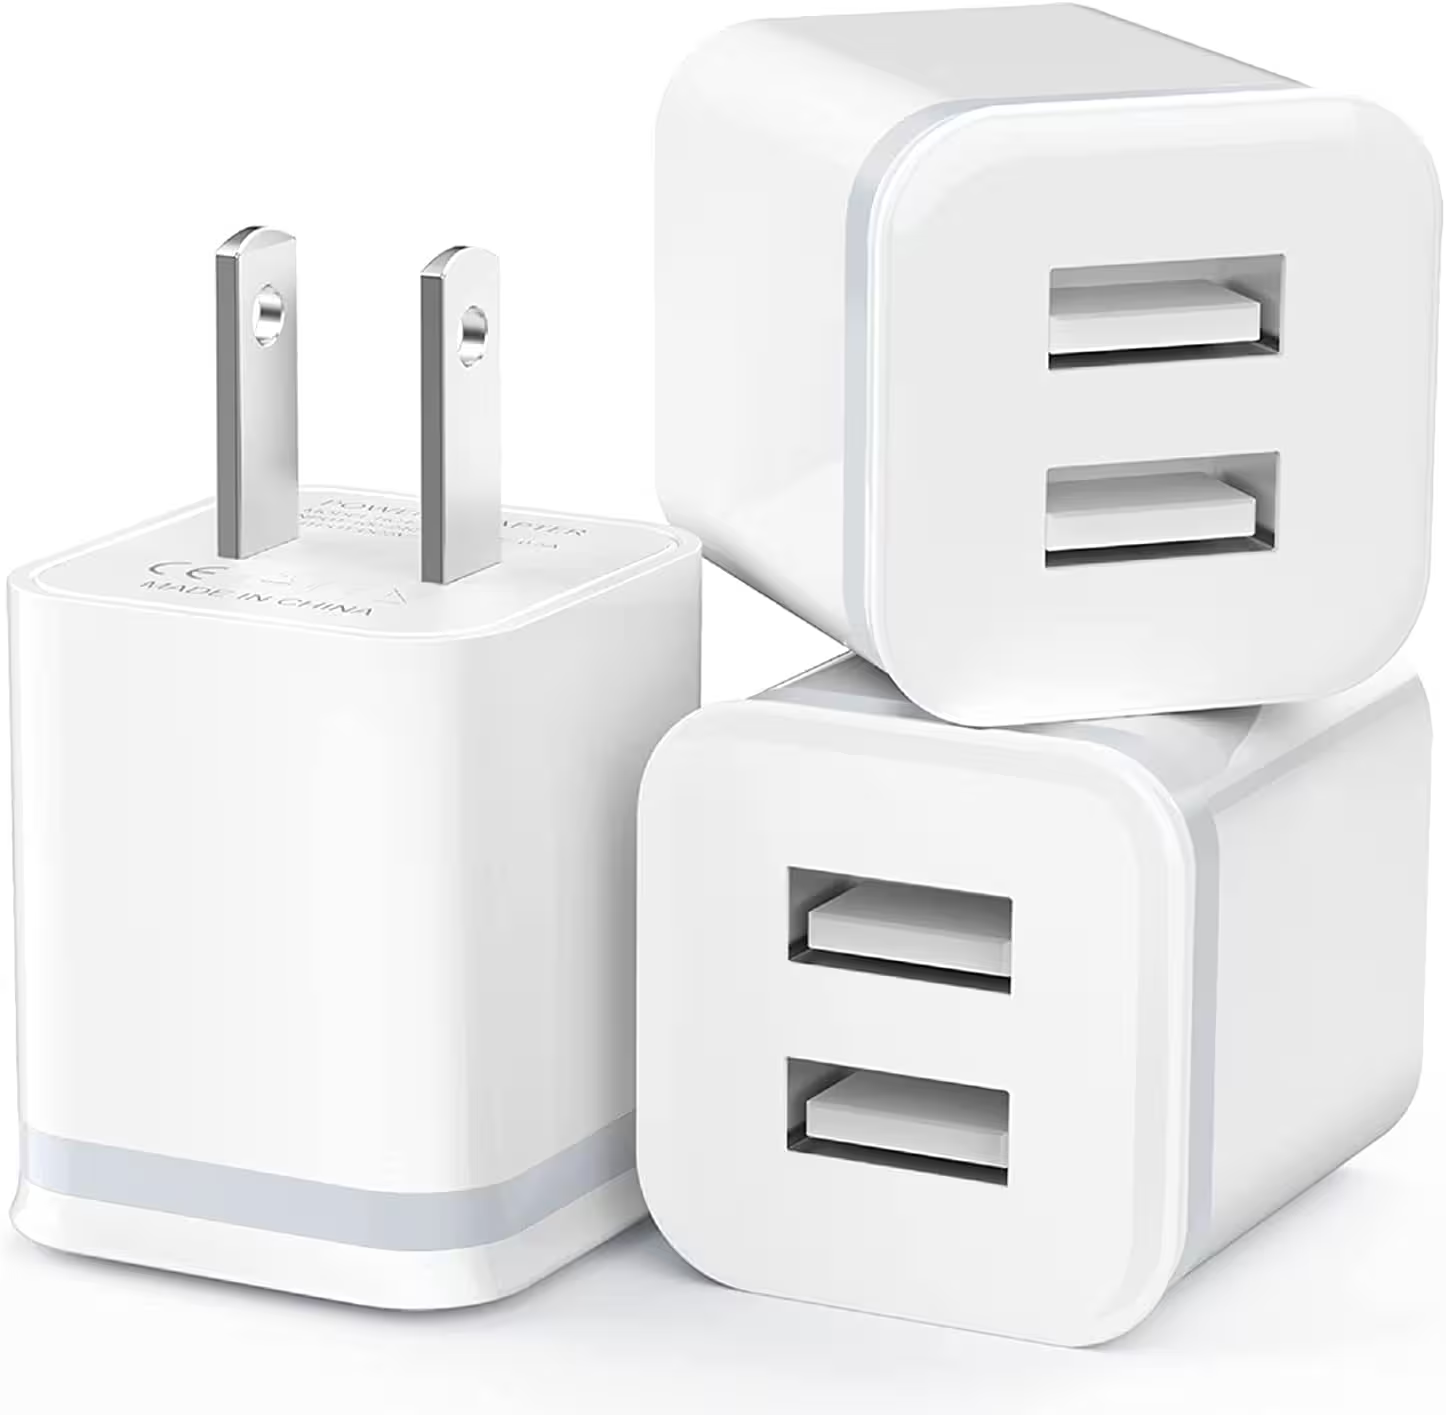
USB Wall Charger
If you’re packing charging cables, don’t forget your charging blocks! this one, with two USB ports is a great way to save a little space and get all your gear charged.
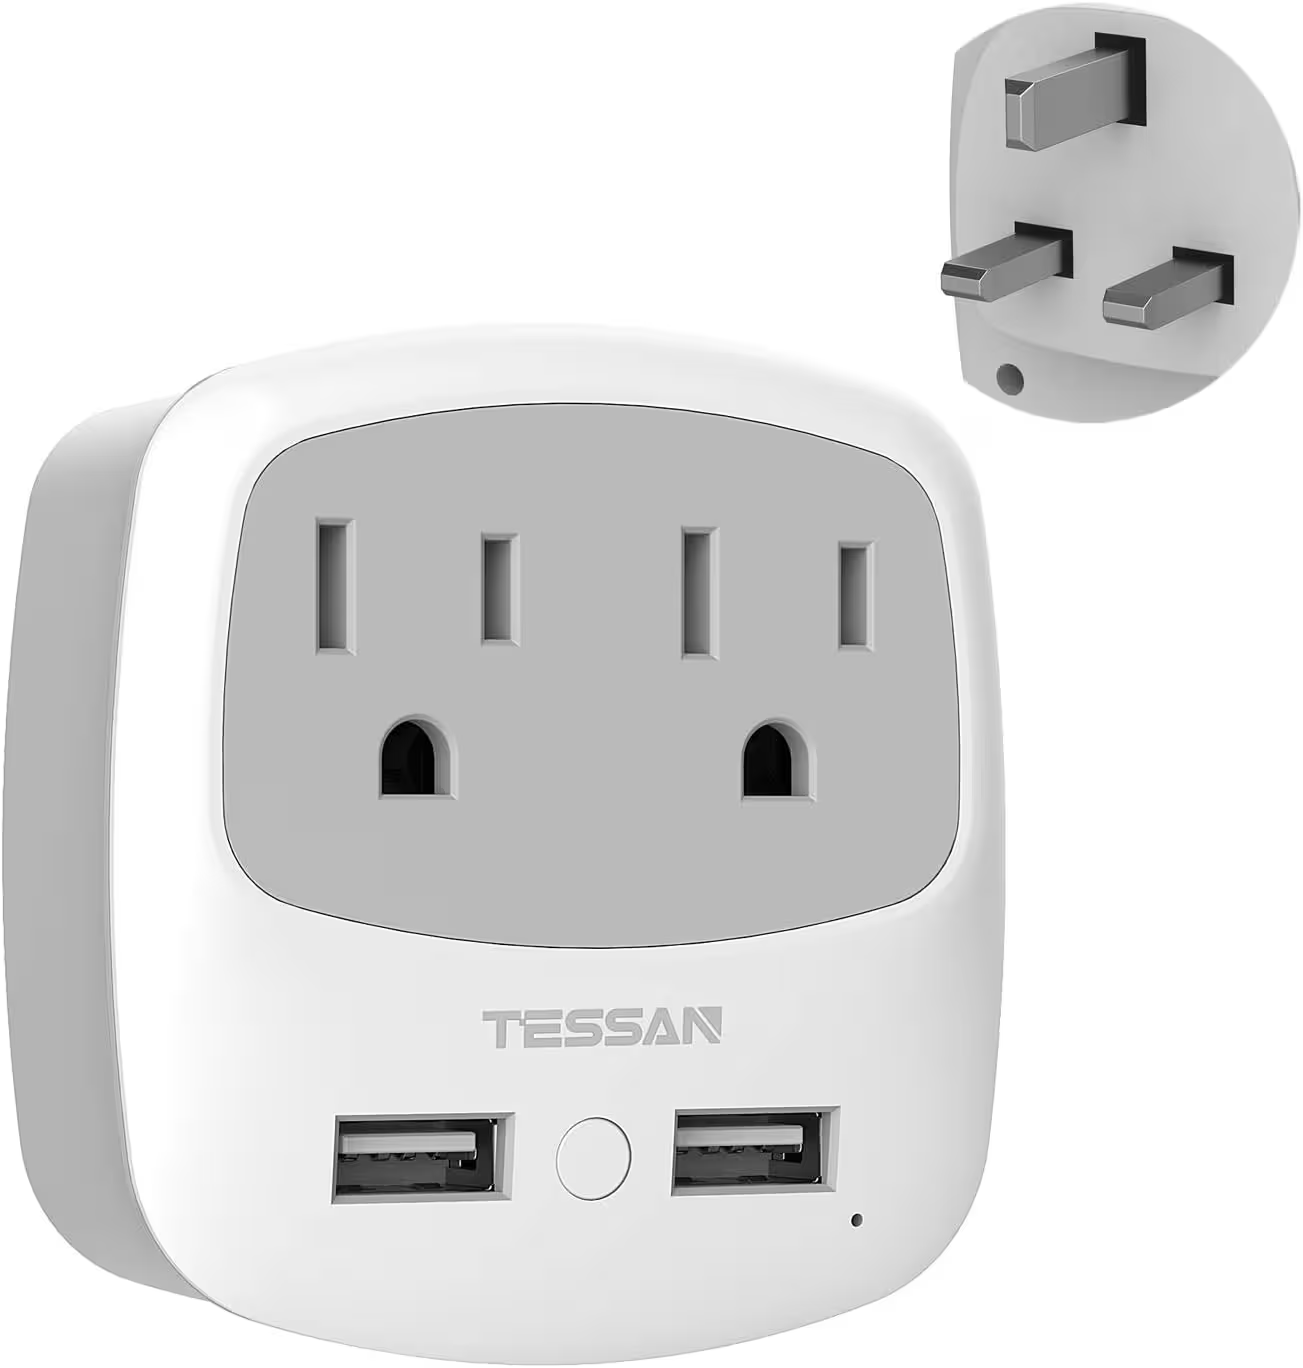
Type G Travel Plug Adapter
Tanzania and Kenya use the type G plug and I love this adapter since it gives you not only two outlets but two USB ports. It was definitely a space saver in my bag!
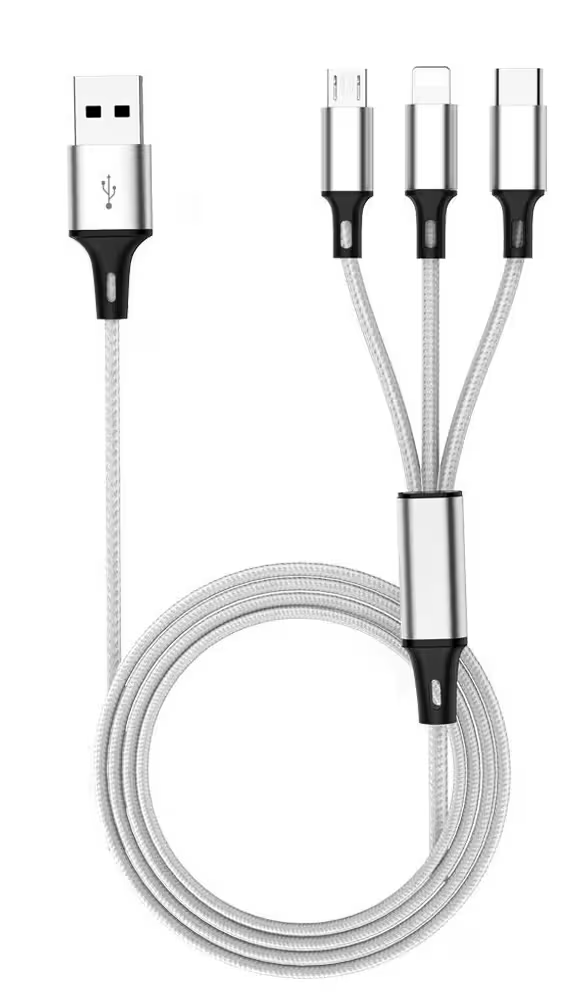
Multi Charging Cable
This charging cable is my everything! I bring two of them on every trip I take and it covers all the different connector types I need, which is a great space saver.
Let’s Go on Safari!
If you like it, put a pin on it!


